Areas
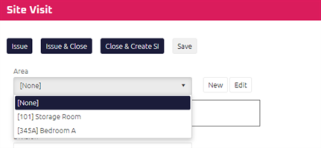
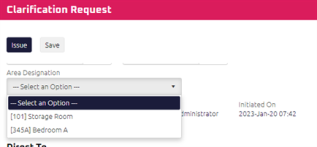
Setting Description: List of options displaying in “Area” drop down field of both Site Visit and Clarification Request.
Provides categorization of a Site Visit and Clarification Request’s Items.
Note: Only Project Administrator or Software Administrators can configure this setting. The project must be Active for this setting to be configured.
|
|
Instructions:
-
From the Administration menu, select Settings. The Settings page displays.
Tip: You can also access Settings from the
 Collapsed Menu.
 -
In the Project Settings List, click Areas.

The Areas page displays. Perform the following actions, as required:
 A. Create a new Area
- Select Add Area.
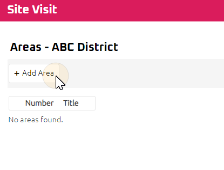
A new row will be added in the Area Grid.
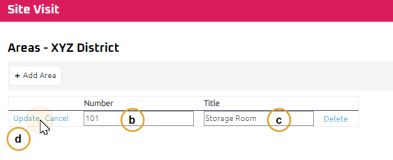
-
Enter a Number for the Area, if required.
-
Enter a Title for the Area, if required.
-
Select Update.
-
Repeat steps a. to d. to add new additional area(s) in the project, as required.
 B. Amend an existing Area:
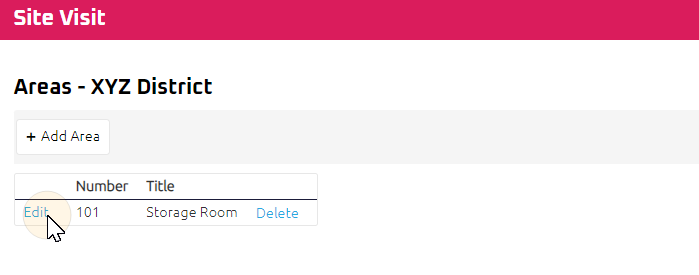
- Select Edit next to the Area to be amended.
-
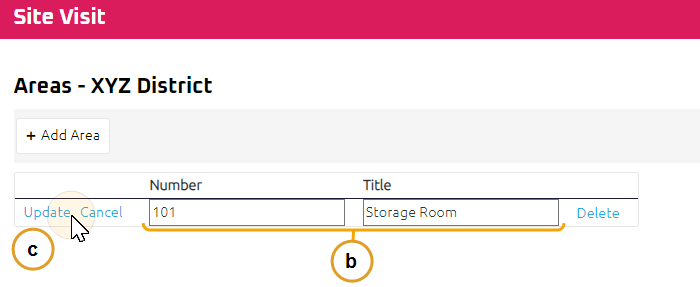
Update the Number and/or Title as required.
-
Select Update.
-
Repeat steps a. to c. to amend other area(s) from the list, as required.
 C. Delete an existing Area:
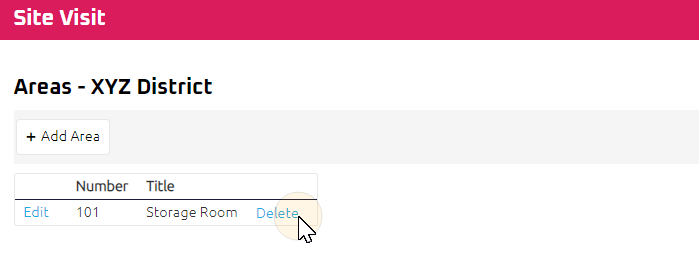
- Select Delete next to the Area to be deleted.
-
A confirmation pop up appears.

-
Select OK to delete the Area.
-
Select Cancel to retain the Area.
-
-
Repeat steps a. to b. to delete other area(s) from the list, as required.
Tip: If a “Trouble Encountered” error message “You cannot delete this item because it is referenced elsewhere “ appears when attempting to delete an existing Area, this Area cannot be deleted as it has been used on a Site Visit or Clarification Request in the project. If further assistance is required, please contact the Help Desk.
- Select Add Area.