Send a Submittal History
The Next Step function allows you to create or forward a Submittal History record to the next reviewer.
To send the Submittal:
- From the Top Toolbar, click
 .
.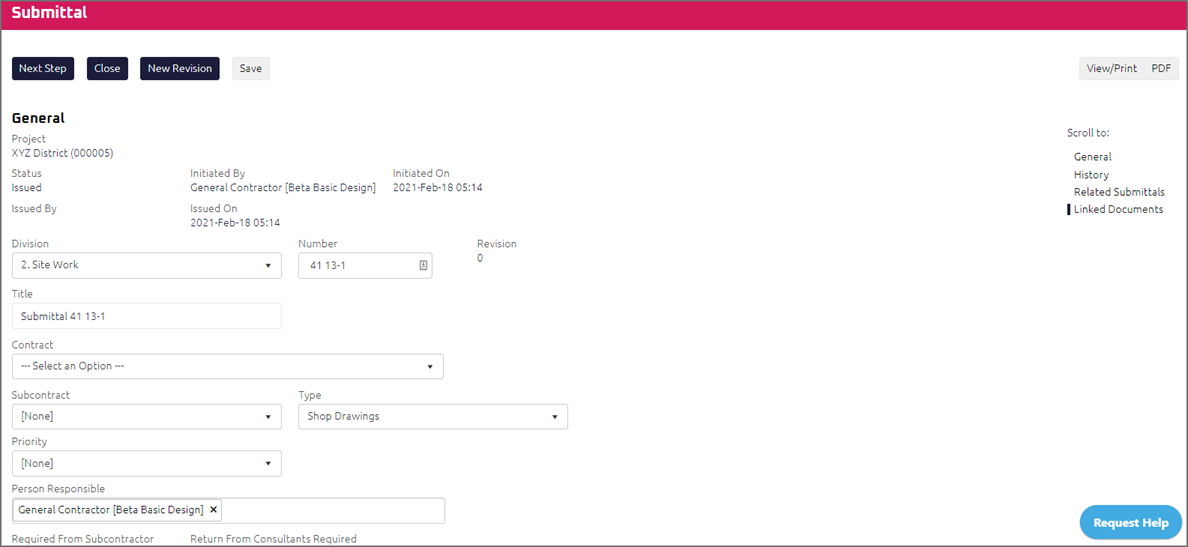
The page scrolls to the History section were you can perform one of the following:
- Click
 if you want to create a New Submittal History Record.
 - Click
 if you want to forward a copy of the Submittal History Record to another user.
Note: The [Create New Record] will be the only option for selection if no records have been created on the current Submittal.
The Submittal Edit page displays.
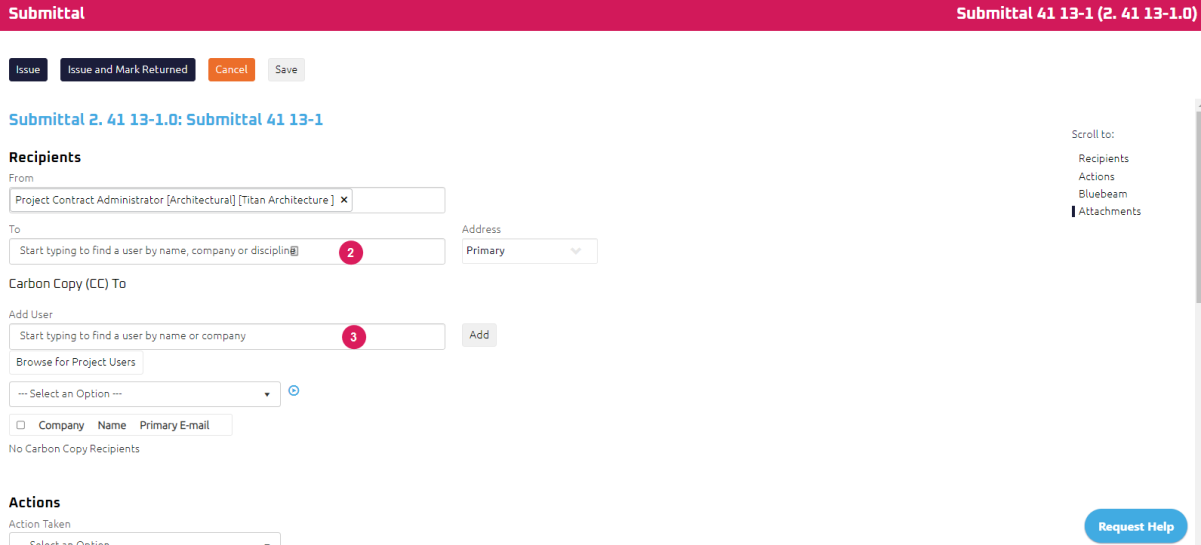
- Using the Start Typing to Search feature, enter the user's name you want to send the Submittal to for review.
- In the Carbon Copy (CC) To section.
- Using the Start Typing to Search feature, enter the user's name you want to send a copy of the Submittal.
- Click
 .
. - Repeat steps 3a to 3b to add other project users in the Carbon Copy (CC) To list, if required.
Tip: Select Browse for Project Participants to add multiple users in the Carbon Copy (CC) To list at once. For more information, see Browse for Project Users.
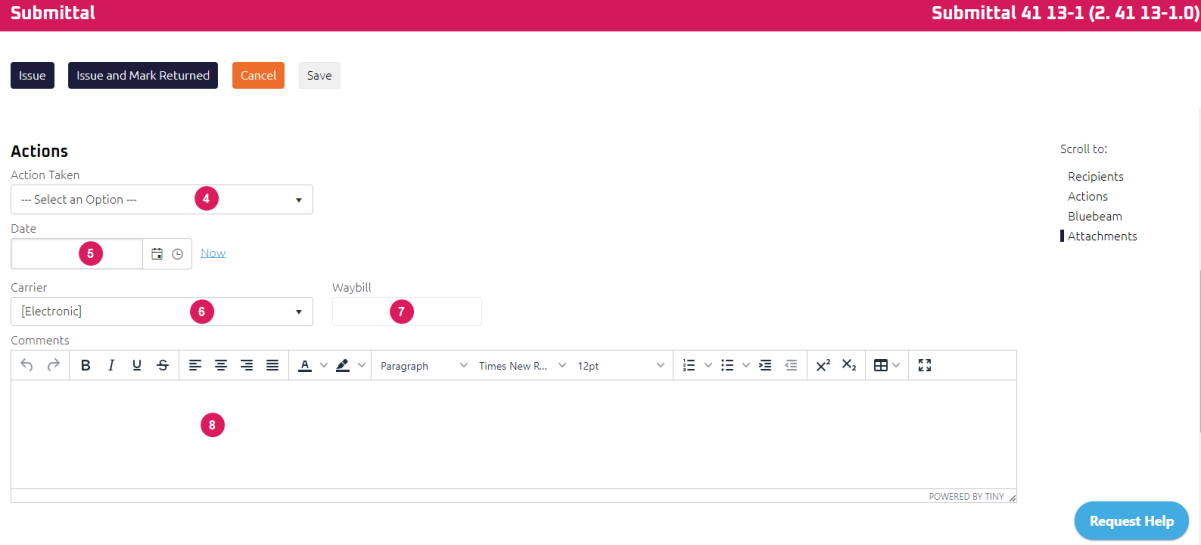
- Select an Action Taken.
- Using the Date Picker, select the Date of this submission.
- Select a Carrier.
- Enter a Waybill number.
- Using the Rich Text Editor, enter any comments.
- In the Bluebeam section, click on the following:
- To start a Bluebeam Studio Session, select
 . Project participants identified in the To and CC To fields will be invited to the Studio Session.
Note: A PDF must be uploaded as an attachment prior to starting a Bluebeam Studio Session. See Attachments
Note: User(s) identified in the CC To list will receive an invitation to join the Bluebeam session. However, only the user selected in the To field to be able review and send a Submittal History record in Onware. For more information, see Send a Submittal History.
- To accept an invitation to join an active Bluebeam Studio Session, select
 .
. - To end the Bluebeam Studio Session, select
 .
.
- To start a Bluebeam Studio Session, select
- Complete any additional fields:
Note: When a Studio session is finalized, attachment in the Bluebeam session will be saved and exported from Bluebeam and inserted as an attachment in the Submittal History.
- To action the Submittal, select one of the action buttons from the top toolbar:
-
 the Submittal. For more information, see Issue a Document.
User selected in the To field to review the Submittal. For more information, see Review a Submittal.
A confirmation page affirming all required information is completed and the document has successfully transitioned to the identified status.
Note: A confirmation page does not display for Contract Administrators or General Contractor Project Managers after issuing a submittal. After Issue is selected, Contract Administrators and General Contractor Project Managers are re-directed to the Submittal Edit page, where you can send the Submittal to additional users, if required.
Any users included in the To and Cc To fields will receive an email of this Submittal. Any e-mails required to be sent for this document (Action Item notification or E-mail Subscription e-mails) are queued.
-
 . This action can be used to move the Submittal status to Returned and record the date a Submittal was returned. This information can be found on the Submittal CSV report. See Generate a Report for more information.
Note:: The option to Issue and Mark Returned is only available for Contract Administrator.
General Contractor to review and close the Submittal. For more information, see Close a Submittal
A confirmation page affirming all required information is completed and the document has successfully transitioned to the identified status.
Any users included in the To and Cc fields will receive an email of this Submittal. Any e-mails required to be sent for this document (Action Item notification or E-mail Subscription e-mails) are queued.
-
 the Submittal History.
 -
 the Submittal to issue or edit later. For more information, see Save a Document.


